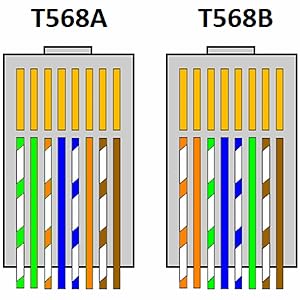
T568A or T568B - Which One Should I Use?
If the installation is residential, choose T568A unless other conditions apply. If components used within the project are internally wired either T568A or T568B, duplicate this wiring scheme. Use your fingers to put the wires in the correct order so they can be properly crimped. The proper sequence is as follows from left to right: T568A - White/Green, Green, White/Orange, Blue, White/Blue, Orange, White/Brown, Brown. T568B - White/Orange, Orange, White/Green, Blue, White/Blue, Green, White/Brown, Brown.
Strip and cut the cable
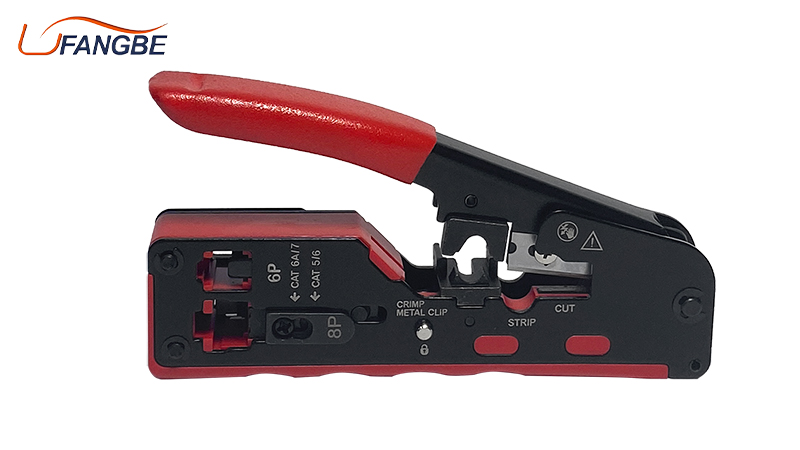
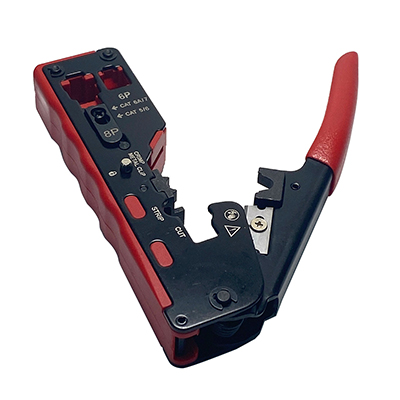
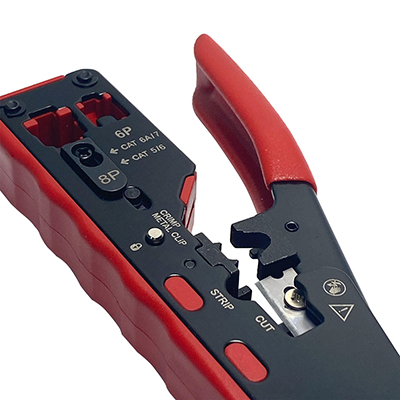
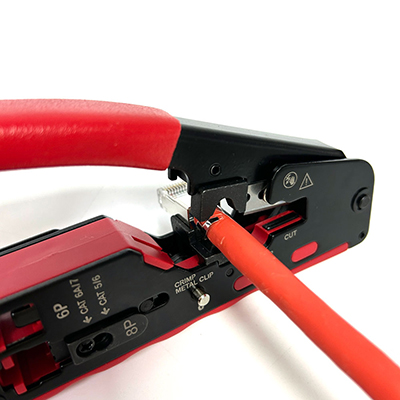
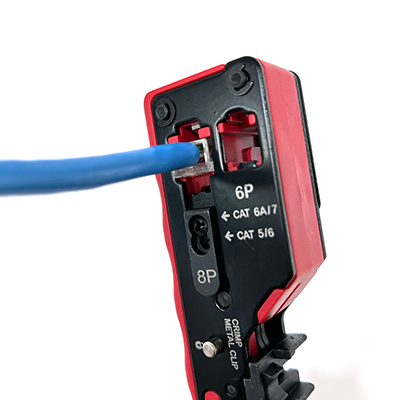
Strip the cable back 1 inch (25 mm) from the end. Insert the cable into the stripper section (round hole) then rotate the crimping tool around the cable to create a clean cut then remove the sheathing. Untwist and straighten the wires inside of the cable, cut off the small plastic wire separator or core so it’s out of the way and cut the wires into an even line 1⁄2 inch (13 mm) from sheathing.
Insert the wires to connector
Insert the wires into the RJ45 Connector with right orders (T568A/B), then insert the cable into the connector so that each of the small wires fits into the small grooves in the connector. The sheathing of the cable should fit just inside of the connector so it’s past the base. Each wire must fit into a groove before you crimp the connector.
Full-cycle connector crimping
Stick the connector into the crimping part of the tool and squeeze twice. Insert the connector in the crimping section of the tool until it can’t fit any further.
Squeeze the handles to crimp the connector and secure the wires. Release the handles, then squeeze the tool again to make sure all of the pins are pushed down.
High-carbon Steel Construction
Crimping dies are precision ground from high-carbon steel, steel body with black-oxide finish for excellent performance and durability. Ergonomic grips enhance comfort, visibility, and allow quick identification. Makes sure that you have a comfortable and robust carry of the tool.


